Walk through a few display homes across Truganina, Tarneit or Point Cook and a pattern starts to emerge. The same handle profile, the same hinge, the same brushed nickel that a lot of volume builders in Victoria seem to reach for by default. It’s not that the spec is bad, it’s that it was never designed to be yours. Once the keys are in your hand, that neutrality starts to show, in the drawer that doesn’t glide and the handle that never quite feels right in your grip. The fix isn’t a renovation, and it isn’t complicated. It’s a weekend, a drill, and the right cabinet hardware supplies Melbourne trade counters and DIYers both rely on, tackled in an order that actually works.
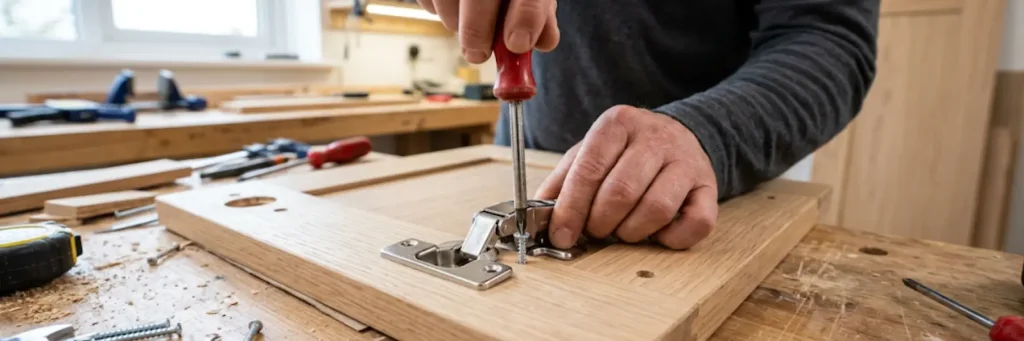
Why Builder-Grade Hardware Feels Flat So Fast
Volume builders work to a tight hardware allowance, so most project homes ship with the same handful of finishes across thousands of estates. Once you’ve lived with it, the small things start to niggle: handles that feel light in the hand, hinges that clunk instead of close softly, drawers that stick halfway out. None of that shows up on an open-for-inspection walkthrough. It shows up every day, once you’re the one closing the same drawer fifty times a week.
The upside is that every one of those niggles has a straightforward, DIY-friendly fix, and none of them require a tradesperson if you’re reasonably handy with a drill and a screwdriver.
What You’ll Need Before You Start
A weekend hardware upgrade doesn’t need a full toolbox. Keep it simple:
- Cordless drill with a fine bit for pilot holes
- Tape measure and a pencil
- Your old handle, unscrewed, so you can match the centre-to-centre (CTC) spacing exactly
- A cabinet hardware jig if you’re changing hole positions (not needed if you’re matching existing holes)
- Painter’s tape, to mark handle height before you drill
If you’re only swapping like-for-like handles onto existing holes, you can usually do a full kitchen in under two hours.
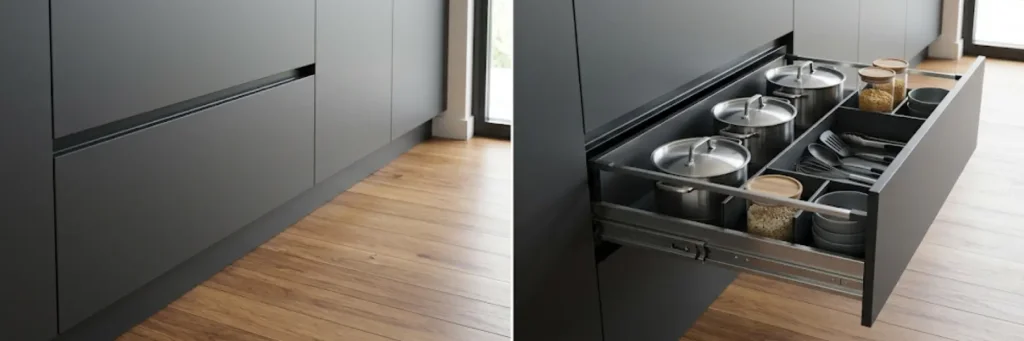
The Upgrade Order That Actually Matters
Most renovators start by scrolling handle designs and stop there. That’s the wrong order, and it’s why so many upgrades feel unfinished. Work through your kitchen in this sequence instead, and each stage builds on the last rather than fighting it.
1. Handles first.
They’re the most visible, most touched, and cheapest way to change the room’s character. Hardware Heaven’s Handles range covers the standard 96mm, 128mm and 160mm spacings most Melbourne project homes use, so matching your existing holes is usually a straight swap. Unscrew one old handle, take it in-store or match the CTC yourself, and order the same spacing in your new finish.
2. Hinges next.
If your cabinet doors clunk shut instead of drawing in quietly, that’s a hinge problem, not a handle problem. Swapping to a soft-close hinge, like the PHS Hinges stocked alongside the handle range, is a fifteen-minute-per-door job and it’s the upgrade most people notice immediately but can’t quite explain why.
3. Drawer runners.
This is the upgrade with the biggest gap between effort and payoff. A tired, non-soft-close runner makes even a brand-new-looking drawer feel cheap. The Häfele Matrix Box system is worth a look here: it’s a full drawer replacement rather than just a runner swap, so it’s a bigger job, but it transforms a kitchen more than almost anything else on this list.
4. Tapware.
Once your metal finish is locked in across handles and hinges, match your tap to it rather than the other way around. Trying to match hardware to an existing tap boxes you into whatever finish the builder happened to choose.
5. Cabinet fronts.
Only tackle this last, and only if the cabinet boxes underneath are solid. New fronts on tired boxes is wasted money; the same fronts with upgraded hardware often looks better than a full refront, for a fraction of the cost.
While you’ve got the drill out, it’s worth considering a strip of Häfele Loox LED lighting inside deep pantry or corner cabinets. It’s not part of the core upgrade order, but it’s the kind of small addition that makes the whole kitchen feel considered rather than bolted together.
Getting the Sizing Right the First Time
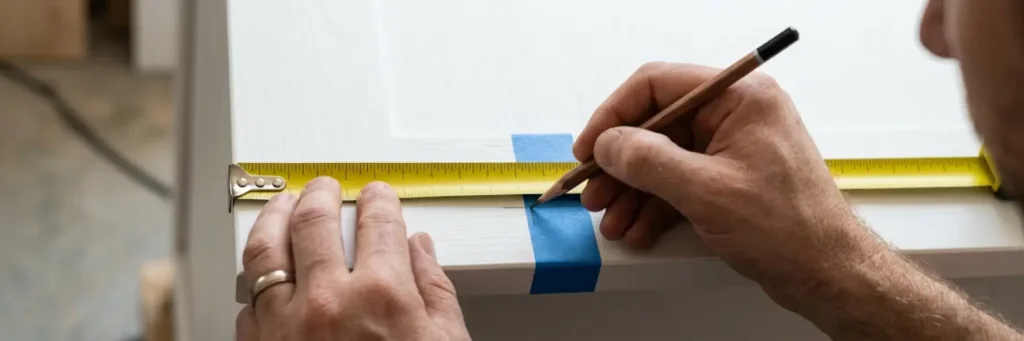
Before you order anything, measure your CTC spacing: the distance between the screw holes on your existing handle, centre to centre. Most Australian project homes use 96mm, 128mm or 160mm. Ordering the wrong CTC is the single biggest cause of returns, because it usually means drilling new holes or living with a visible gap from the old ones. If you’re not confident measuring it yourself, bring the old handle in-store rather than guessing from memory, it takes thirty seconds to match on the spot.
Matte Black, Brushed Brass or Something In Between?
Finish choice is where most upgrades stall. Matte black has held its position as the go-to contrast finish for a reason: it reads sharp against light cabinetry and hides fingerprints better than almost anything else on the market. But 2026 is shifting the conversation toward warmth, with brushed brass, satin brass and softer bronze tones moving into the lead position, often paired with a secondary finish rather than used alone.
If you’re planning to stay in your home for a few years, pick one dominant finish for the bulk of your cabinetry, and use a second finish sparingly, on an island bench or a single feature run, so the kitchen ages as a considered choice rather than a trend that dates quickly.
A Local Note for Melbourne’s West
This isn’t a small niche problem. Wyndham, covering Truganina, Tarneit, Williams Landing and the surrounding growth corridor, continues to be one of the busiest new-build areas in Victoria, with building permits issued for close to 300 new dwellings across the municipality in a single recent month. That’s hundreds of near-identical kitchen fitouts landing in the same postcode every few weeks, which is exactly why hardware has become the fastest way for new owners to make a display-home kitchen feel like their own.
Hardware Heaven is based right in Truganina, in the middle of that growth corridor, which means kitchen hardware supplies, sizing advice and trade pricing are available without a drive across Melbourne. If you’re not sure which hinge suits your cabinet overlay, or whether a handle will clear your drawer face, it’s a five-minute conversation in-store rather than a guessing game online.
Ready to Upgrade?
Whether you’re refreshing one kitchen or fitting out a whole street of display homes, the team at Hardware Heaven can talk you through finish matching, sizing and stock availability before you buy. Browse the current cabinet hardware range online, check the Häfele Matrix Box drawer system if your drawers are the priority, and keep an eye on current promotions if you’re upgrading more than one kitchen. For more on getting your finishes right the first time, our hardware supplies checklist and our guide to matte black, brushed brass and mixed metals cover the details this article doesn’t have room for.
Frequently Asked Questions
Can I install new cabinet handles myself?
Yes, in most cases. If you’re matching your existing hole spacing, it’s a straightforward job with a cordless drill and about fifteen minutes per door or drawer.
Do I need to replace hinges if I’m only changing handles?
Not necessarily, but if your current hinges are noisy or don’t self-close, upgrading them alongside your handles gives a far more noticeable day-to-day improvement than handles alone.
What’s the standard handle size for Australian kitchens?
Most project-home cabinetry uses 96mm, 128mm or 160mm centre-to-centre spacing. Measuring your existing handles before ordering avoids drilling new holes.